Moving to a new home is an exciting adventure, but the process of packing up your belongings can be a daunting task. When packing your kitchen, one of the trickiest areas is how to pack pots and pans for moving. These essential kitchen items can be heavy, bulky, and delicate, making them prone to damage during a move. However, with the right approach and a little extra care, you can ensure that your pots and pans arrive at your new home in perfect condition.
This comprehensive guide will walk you through the step-by-step process of packing pots and pans for moving. We’ve covered you, from gathering the necessary supplies to unpacking them in your new kitchen. Let’s get started!
Gathering Your Packing Supplies
Before you begin packing your pots and pans, gathering all the necessary packing supplies is crucial. Having suitable materials on hand will make the packing process smoother and help protect your cookware during the move. Here’s what you’ll need:
- Sturdy Moving Boxes: Opt for small to medium-sized boxes to prevent overloading and ensure stability during transport.
- Packing Paper: This will be used to wrap your pots and pans to prevent scratches and damage.
- Bubble Wrap: Ideal for extra protection, especially for fragile cookware.
- Packing Tape: High-quality packing tape to secure your boxes and ensure they stay closed during transit.
- Marker for Labeling: You’ll want to label your boxes clearly to make unpacking easier.
Preparing Your Pots and Pans
Before you start packing, preparing your pots and pans properly is essential. Here are the steps to follow:
Empty and Clean Your Pots and Pans
Begin by emptying all your cookware and giving it a thorough cleaning. Grease and food residue can attract pests and create unpleasant odors during the move. Wash, dry, and inspect each item for any pre-existing damage.
Sort and Declutter
As you clean, take the opportunity to declutter your casserole dishes, soft kitchen items, and cookware collection. Consider what you truly need and use regularly. Donate or discard any items you no longer want or damaged beyond repair.
Disassemble If Possible
Some pots and pans have detachable handles or lids. If yours do, remove these parts to make packing more efficient and prevent them from getting damaged.
Choosing the Right Box Size
The appropriate box size is crucial for safely transporting your pots and pans. Here’s how to make the right choice:
Small to Medium-Sized Boxes: Opt for boxes that are proportional to the size and weight of your cookware. Smaller packages for pots and pans will prevent overloading and make lifting and moving more manageable.
Packing Pots and Pans
Now that you have your packing supplies and prepared your cookware, it’s time to start packing your pots and pans securely. Follow these steps:
Start with Padding
Line the bottom of the box with crumpled packing paper to provide a cushioning layer.
Wrap Individual Items
Use packing paper or bubble wrap for each pot and pan to wrap them individually. Here’s how:
- Place the pot or pan in the center of a packing paper or bubble wrap sheet.
- Fold the paper or bubble wrap over the item, covering it completely.
- Tuck in any loose ends and secure with tape.
Nesting and Stacking
For pots and pans that are similar in size and shape, nest them together to save space. Here’s how:
- Place a layer of packing paper or bubble wrap between nested items to prevent scratching.
- Stack smaller pots inside larger ones, placing a layer of padding between each to prevent damage.
Fill Empty Spaces
Use crumpled packing paper to fill gaps in the box and prevent items from shifting during transit. This extra padding will help protect your cookware from impacts.
Label the Box
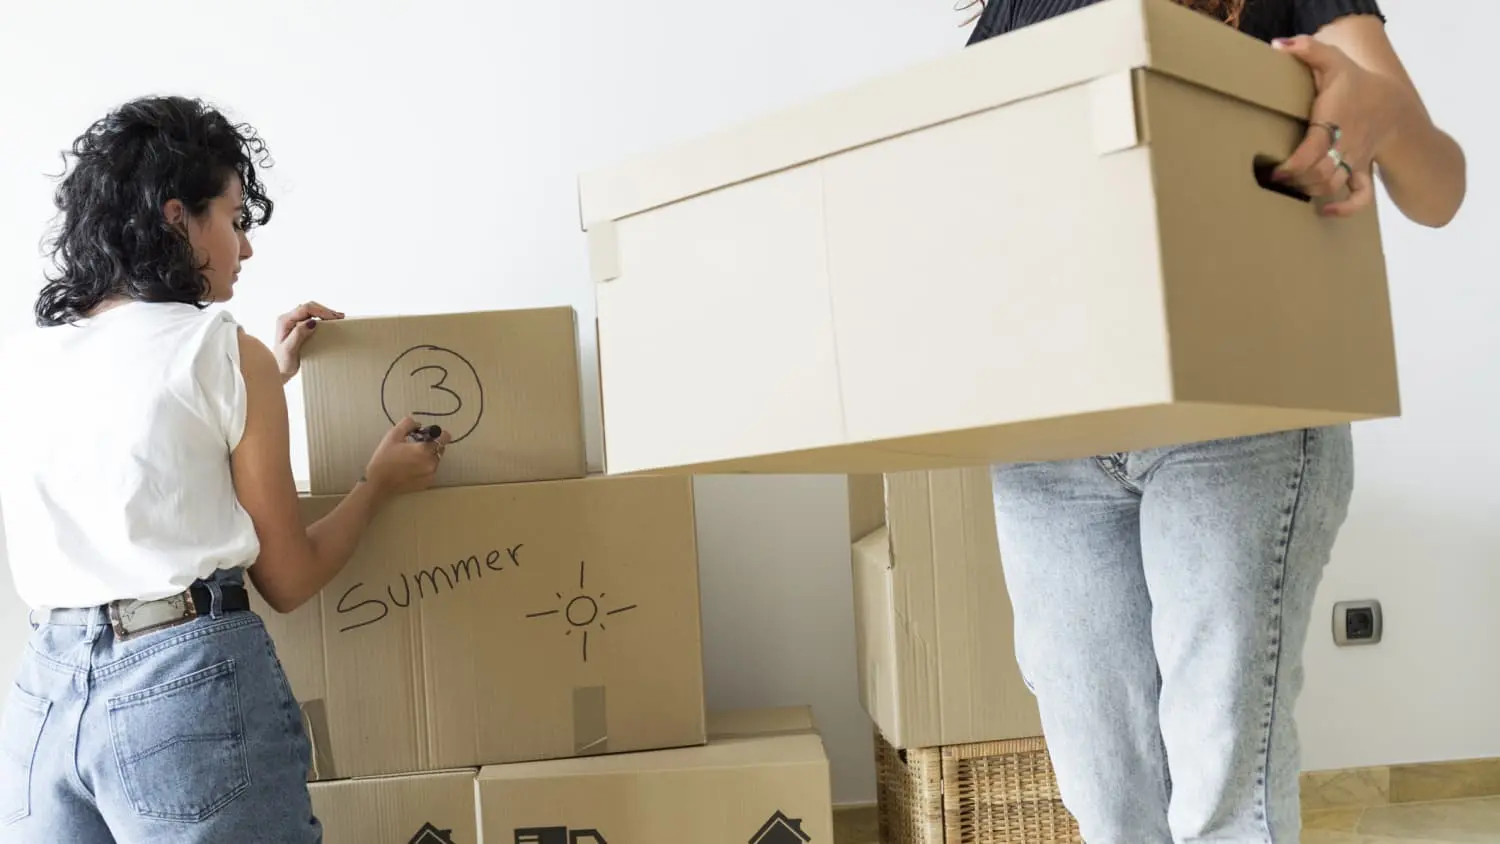
Clearly label the box with the word “Kitchen” and create a brief list of its contents. This will make it easier to identify your cookware when you’re unpacking.
By following these steps, you can ensure that your pots and pans are packed securely and ready for a safe journey to your new home.
Packing Lids and Handles
In addition to your pots and pans, don’t forget to pack the lids and handles properly. Here’s what to do:
- Wrap Lids and Handles Separately: Wrap them separately from the pots and pans to prevent handles from bending or breaking during the move.
- Use Bubble Wrap or Packing Paper: Provide extra cushioning by using bubble wrap or packing paper for the lids and handles.
- Securely Tape Wrapped Handles: Tape the wrapped handles to the inside of the corresponding pot or pan. This will keep them together and prevent any movement or damage during transit.
With your pots, pans, lids, and handles securely packed, you’re well on your way to ensuring their safe arrival at your new home.
Packing Fragile Cookware
If you have fragile cookware, such as glass or ceramic pots. Here’s how to pack them safely:
- Discuss the special care required for fragile cookware: Glass and ceramic pots and pans are more susceptible to breakage during a move due to their fragile nature. Be sure to handle them with care and take extra precautions when packing.
- Consider double boxing or using dish-specific packing materials: To provide additional protection, you may want to double box fragile cookware or use specialized packing materials designed for dishes and fragile items.
- Label these boxes as “Fragile”: Clearly mark boxes containing fragile cookware as “Fragile” to ensure they receive extra care and attention during the move.
Loading and Organizing Boxes
Once you’ve packed your pots and pans, it’s time to load and organize the boxes for the move:
- Provide tips on organizing boxes efficiently:
To ensure a smooth move, consider the following tips for loading and organizing your boxes: - Heavier items at the bottom: Place your heavier pots and pans at the bottom of the box to provide stability.
Lighter items on top: Put lighter cookware on top of the heavier ones to prevent damage.
Avoid overcrowding: Do not overpack boxes, as this can lead to damage or breakage during the move. - Create layers with larger items on the bottom and smaller ones on top: When stacking your pots and pans, start with the larger items at the bottom of the box and place smaller ones on top. This will help distribute the weight evenly and prevent damage.
Following these tips for loading and organizing your boxes, you can ensure that your pots and pans stay safe and secure during the move.
Sealing and Labeling Boxes
As you finish packing your pots and pans, it’s crucial to seal and label each box correctly:
Emphasize the importance of securely sealing boxes
Use high-quality packing tape to reinforce the seams of your boxes. This extra step will help ensure that the boxes stay closed during the move and that your cookware remains protected.
Label Each Box
Clearly label each box with the room designation and a brief list of its contents. This will make it much easier to identify your cookware when it’s time to unpack.
With your boxes sealed and labeled, you’re ready for the next steps in the moving process.
Preparing for the Move
As moving day approaches, there are a few additional steps you should take to ensure a smooth transition:
Highlight the significance of planning for a smooth move
Preparing for the move is crucial for a successful transition to your new home. Be sure to plan ahead and make necessary arrangements well in advance.
Keep essential kitchen items out for immediate use
Before packing up your entire kitchen, set aside essential items you’ll need right up until the moving day. This includes basics like plates, utensils, and a few pots and pans for cooking.
Pack a “moving day” box with essentials
Consider packing a separate box with essential kitchen items that you’ll need on moving day and the first few days in your new home. This can include a few pots and pans, utensils, and basic cookware.
By planning and preparing for the move in advance, you can minimize stress and ensure you have everything you need when arriving at your new home. If you want to know how many days does it take to move, just check out blog page!
Unpacking Your Kitchen
Once you’ve arrived at your new home, it’s time to unpack your kitchen and set it up efficiently. Unpacking your kitchen can be a time-consuming process, but these tips can help make it more manageable:
- Start with essential items: Begin by unpacking the essentials, such as plates, glasses, and utensils, to make your kitchen functional quickly.
- Set up the kitchen strategically: As you unpack your pots and pans, consider your new kitchen layout—place items where they make the most sense for your cooking and food preparation needs.
Conclusion
Packing pots and pans for a move may seem daunting, but with the right approach, you can protect your valuable cookware and ensure it arrives safely at your new home. Following the steps outlined in this guide, you can take the stress out of moving your pots and pans and look forward to using them in your new kitchen.
Remember to gather the necessary packing supplies, prepare your pots and pans, choose the right box size, pack them carefully, and label your boxes for easy identification. With a little planning and attention to detail, your pots and pans will be ready to serve you well in your new space.
Gorilla Moves: Your Partner in Perfectly Packed Pots and Pans!
At Gorilla Moves, we’re committed to protecting your valuable cookware. Let us show you the secrets to packing pots and pans like a pro. Say goodbye to broken handles and scratched surfaces. Click now and let our moving company Langley experts make your move smooth and your kitchenware safe! Contact us now!
FAQs: How to Pack Pots and Pans for Moving?
How should I prepare my pots and pans for moving?
To prepare your pots and pans for moving, clean them thoroughly. Remove any food residues, grease, or stains. Next, stack them in pairs, with a layer of packing material (such as bubble wrap or packing paper) in between each piece. Finally, place them in a sturdy box, ensuring they are well-padded and secure to prevent damage during transit.
Can I stack pots and pans directly on top of each other when packing?
It’s not advisable to stack pots and pans directly on top of each other without any protective padding. To prevent scratches and dents, always place a layer of packing material (e.g., paper, cloth, or bubble wrap) between each pot and pan. This will help cushion them and reduce the risk of damage during the move.
What’s the best way to pack lids for pots and pans?
To pack lids for pots and pans, wrap them in packing paper or bubble wrap. If they are glass lids, consider adding an extra layer of protection to prevent breakage. Place them in a separate box or nest them together inside a larger box, making sure they are snug and well-padded to avoid shifting during transit.
Should I use a specific box type for packing pots and pans?
Using sturdy, medium-sized boxes for packing pots and pans is a good idea. These boxes are less likely to become too heavy and are easier to handle. Make sure the boxes are clean and dry before placing your kitchenware inside. Reinforce the bottom with extra packing tape to support the weight.
Are there any special considerations for packing non-stick pans?
Yes, non-stick pans require special care when packing. Place a layer of packing material (such as cloth or paper) between each non-stick pan to protect the non-stick coating. Avoid stacking other heavy items on top of them to prevent any potential damage to the non-stick surface. Securing the lids separately’s also a good idea to ensure they don’t scratch the pans during transit.


